DNS Changes - Godaddy
Add an A record
An A (host) record connects your domain name to your IP address. A records let users enter your domain name in a Web browser to access your website. They are the most common type of zone record.
- Log in to your GoDaddy account.
- Next to Domains, click Manage.
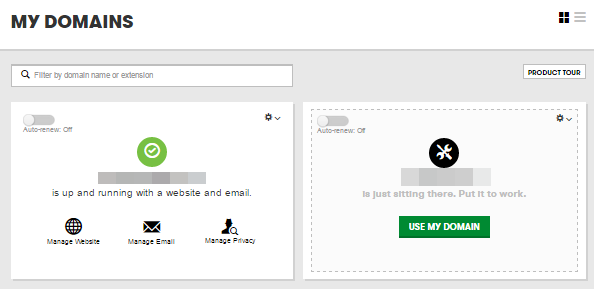
Card View
In Card View, your account will look something like this:
- Select the domain name you want to use, click
 (Settings) and select Manage DNS.
 - At the bottom of the Records list, select A (Host) from the drop-down list.
- Complete the other fields:
- Host Name — Enter the host name the A record links to. Type @ to point the record directly to your domain name, including the www.
- Points to IP Address — Enter the IP address your domain name uses for this host record.
- TTL — Select how long the server should cache the information.
- Click Add Record
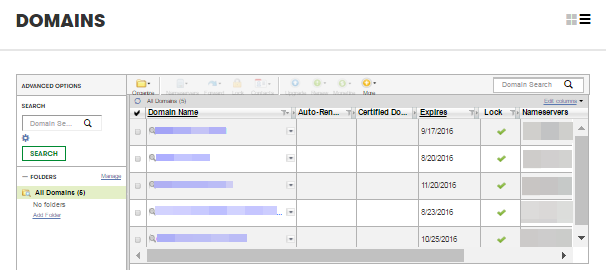
List View
In List View, your account will look something like this:
- Click the domain name you want to use.
- Click the DNS Zone File tab.
- Click Add Record.
- From the Record type list, select A (Host).
- Complete the following fields:
- Host Name — Enter the host name the A record links to. Type @ to point the record directly to your domain name, including the www.
- Points to IP Address — Enter the IP address your domain name uses for this host record.
- TTL — Select how long the server should cache the information.
- Click Finish, then click Save Changes. The new A record displays in the A (Host) section.
Add a CNAME record
A CNAME (Alias) record points to an A (Host) record. You can create multiple CNAME records and point them to an A record. The most common CNAME records are the subdomains wwwand ftp.
CNAME records make your DNS data easier to manage. If you change the IP address of an A record, all CNAME records pointed to that A record automatically follow the new IP address. The alternative solution, multiple A records, is not as simple as using CNAME records.
- Log in to your GoDaddy account.
- Next to Domains, click Manage.
Card View
In Card View, your account will look something like this:
- Select the domain name you want to use, click (Settings) and select Manage DNS.
- At the bottom of the Records list, select CNAME (Alias) from the drop-down list.
- Complete the other fields:
-
Name — Enter the subdomain name for the alias assignment. For example, typewww.
The subdomain can include a period (.) but not as the first or last character. Consecutive periods (...) are not allowed. A subdomain cannot exceed 25 characters.
- Value — Enter the host name you want the alias to point to. For example, type @ to map the alias directly to your domain name.
- TTL — Select how long the server should cache the information.
-
Name — Enter the subdomain name for the alias assignment. For example, typewww.
- Click Add Record.
List View
In List View, your account will look something like this:
- Click the domain name you want to use.
- Click the DNS Zone File tab.
- Click Add Record.
- From the Record type list, select CNAME (Alias).
- Complete the following fields:
- Host: — Enter the subdomain name for the alias assignment. For example, typewww.
- Points to: — Enter the host name you want the alias to point to. For example, type@ to map the alias directly to your domain name.
- TTL: — Select how long the server should cache the information.
- Click Finish, then click Save Changes.